

When Pain Is High
Your Body Needs a Reset
Pain is your body’s signal for change.
When it rises above 7/10 (NPRS), it’s no longer subtle it’s protective.
At this level:
Muscles may shut down
Joints may feel stiff or unstable
Your nervous system becomes highly alert
This isn’t weakness or failure. It’s protection.
The goal of Acute Pain Reset Routines is not to push through pain.
It’s to:
Calm the system
Restore basic muscle activation
Reduce swelling
Help your body feel safe enough to heal
What High Pain Means
Early pain is information — a cue to adjust.
If pain stays high or keeps returning, tissues and the nervous system are overwhelmed.
Common responses include:
Muscle inhibition (“shutting off”)
Loss of movement or control
Swelling or stiffness
Increased sensitivity to movement
Rest alone is often not enough.
The body needs gentle, targeted input to restore communication between brain, nerves, and muscles.
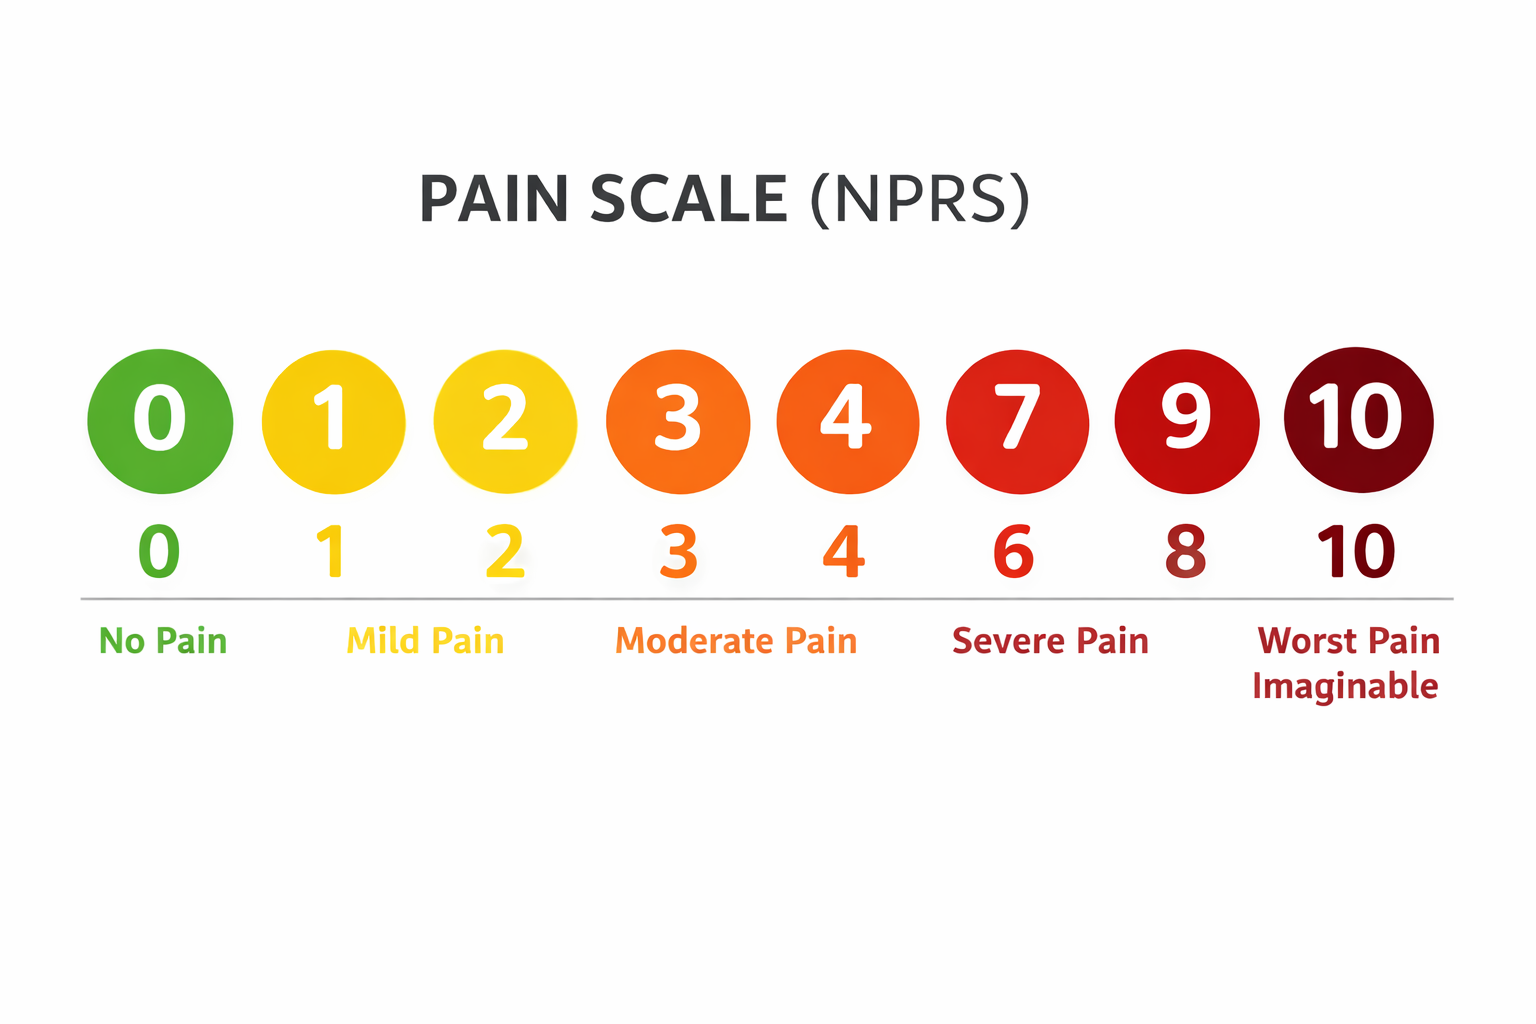
Measuring Pain: Keep It Simple
Use the Numeric Pain Rating Scale (NPRS) to track response.
Rate pain before and after your routine
Decreasing or stable pain = positive response
Pain that spikes and stays elevated = modify or stop
Progress means trending better — not instant elimination
Before Getting Started.
Take a moment to perform a nervous system reset. A breathing technique to allow the body to enter a state of rest and recovery.
Performing this exercise prior to every recovery session allows the body to be in its best state to heal.
Breath a little deeper and more slowly than normal.
Free Courses
The Acute Pain Reset Routines focus on:
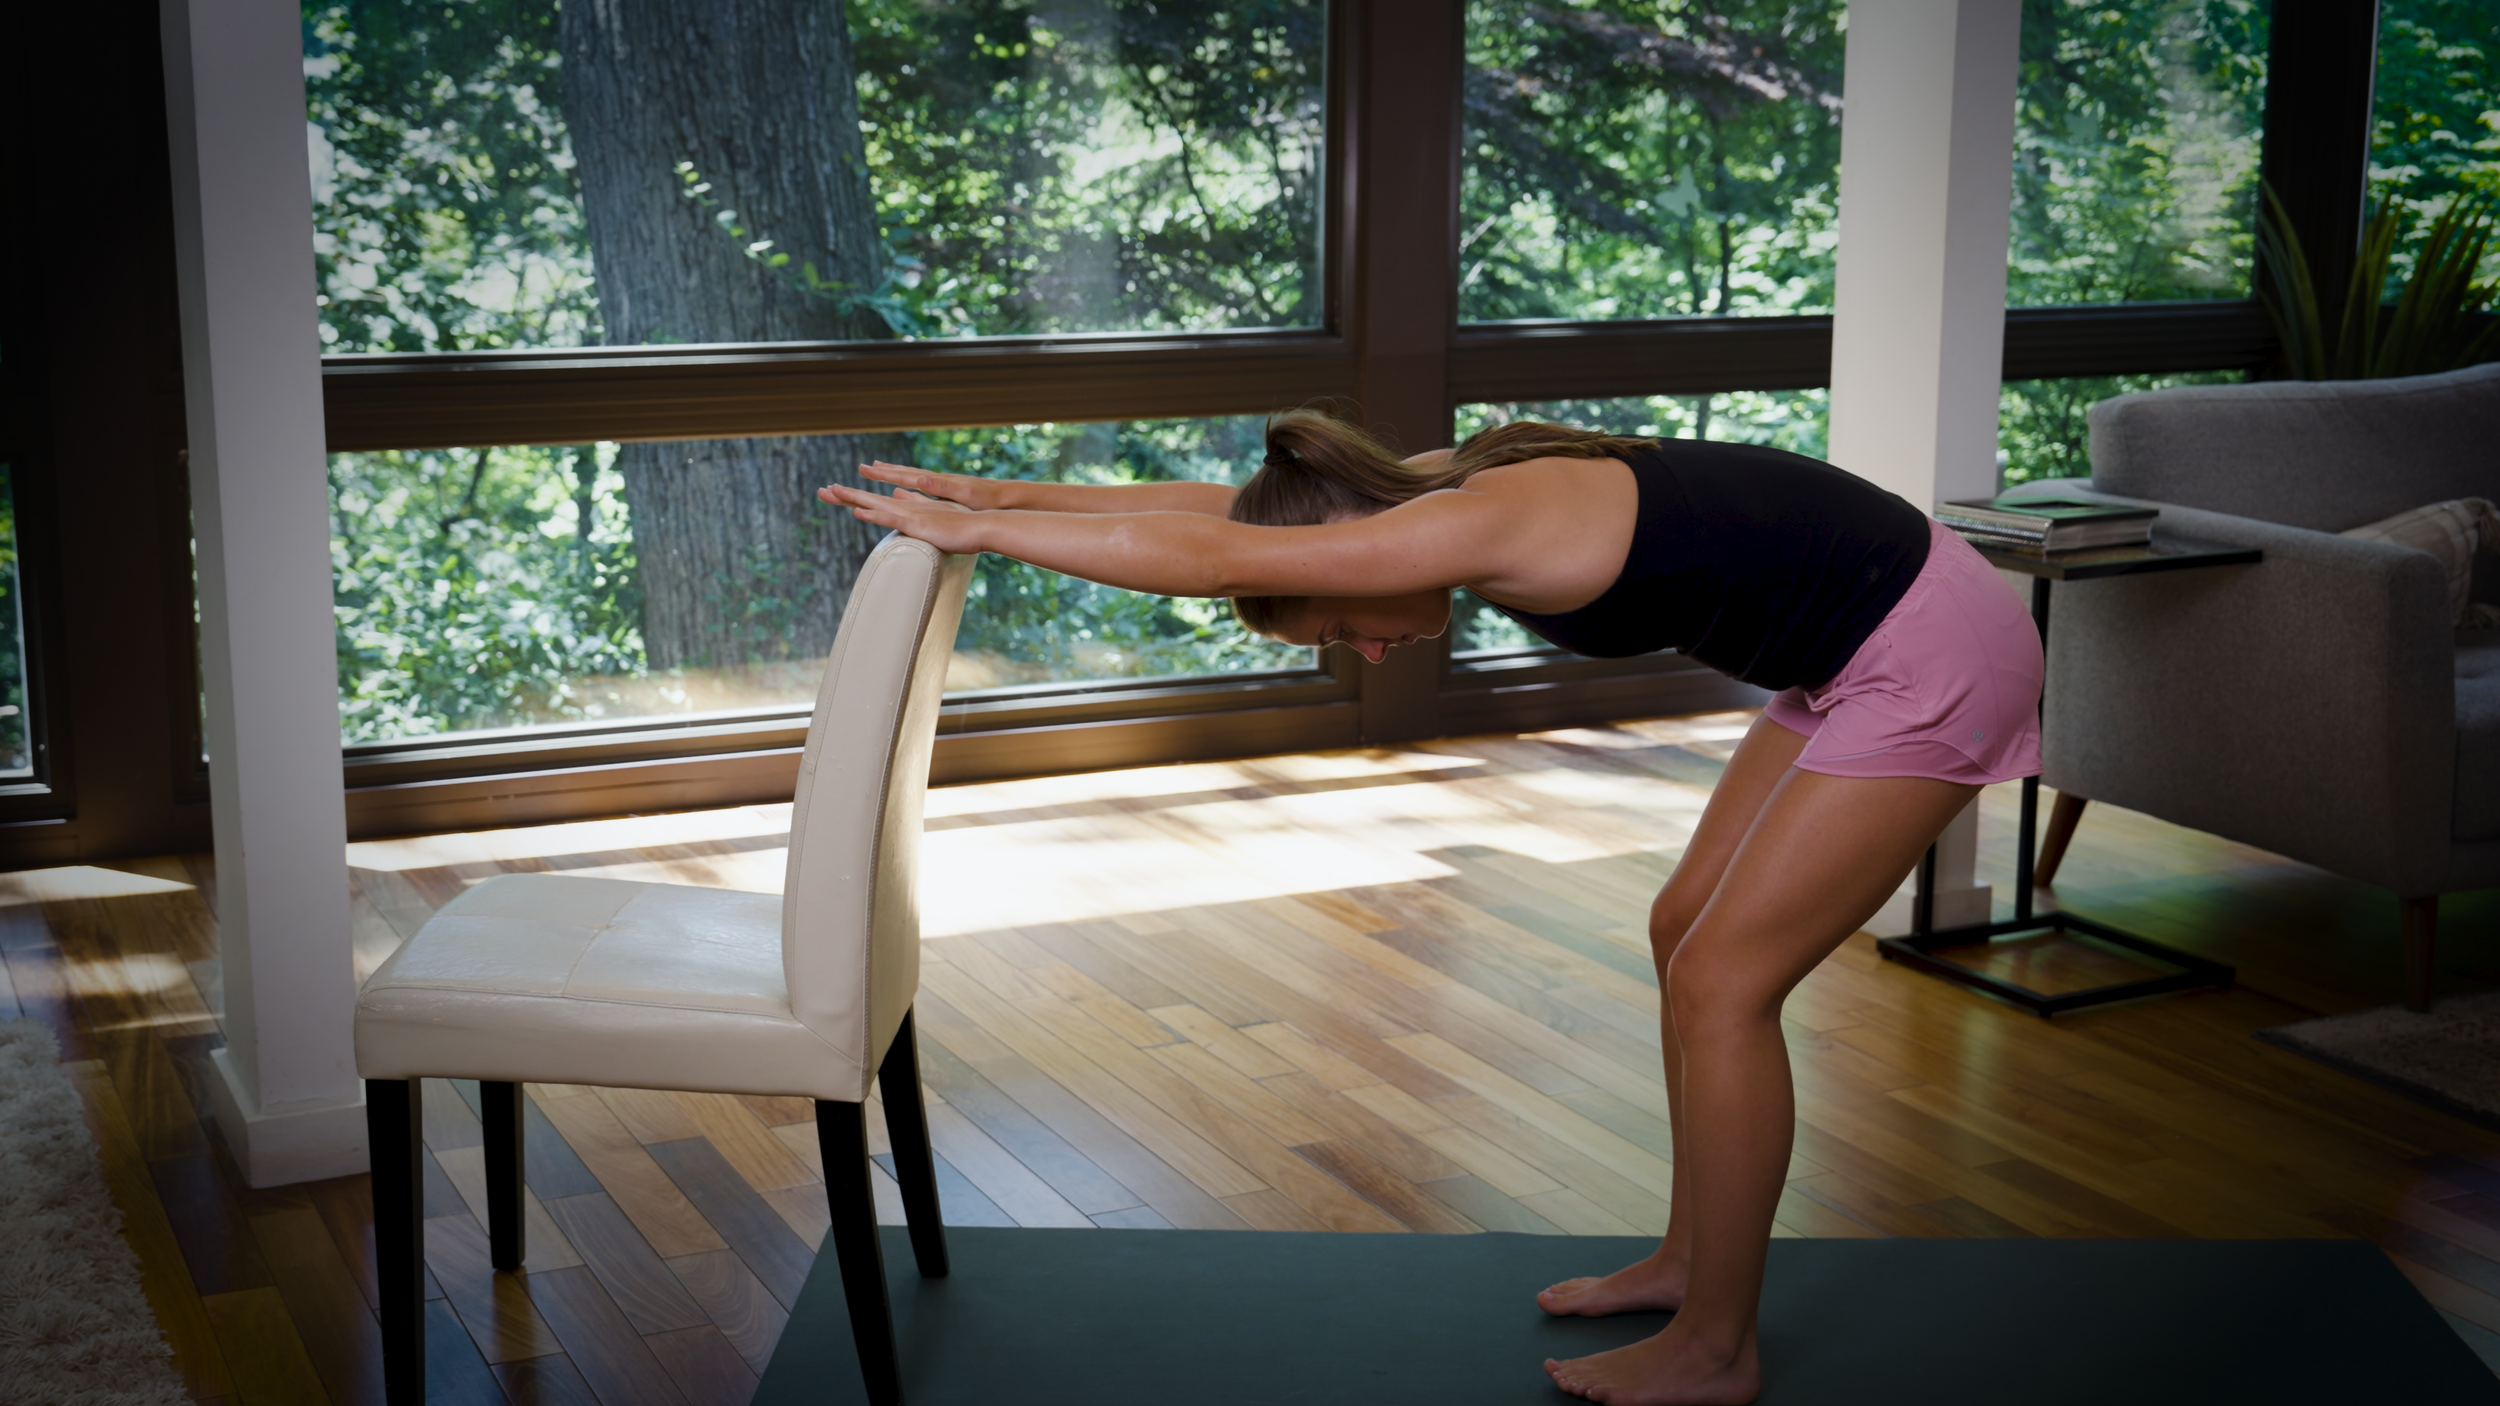
Isometric muscle contractions (tightening without joint movement- see video below)
Safe positions that minimize joint stress
Reducing threat to the nervous system
Isometric exercises have been shown to:
Reduce pain
Improve muscle activation
Decrease swelling
Restore confidence in movement
These routines are designed to be performed without increasing pain and often result in pain reduction during or shortly after the session
-
-
-
ASMR Forearm
Release tension in your arms and get the muscles gliding better with this 1-minute self-massage technique.
Release tension in your arms and get the muscles gliding better with this 1-minute self-massage technique.
-
Mobilization of the Hand
Mobilize all of the small joints in your hand to ensure that the muscles can activate effectively.
Mobilize all of the small joints in your hand to ensure that the muscles can activate effectively.
-
Scapular Circles
Try this unique exercise to target your upper back and shoulder blades to improve posture naturally and effectively.
Try this unique exercise to target your upper back and shoulder blades to improve posture naturally and effectively.
-
Arm Control and Expansion
Wake up the synergists in your arm/wrists and hands with this simple, yet effective routine— see how effectively it rebalances your forearm muscles.
Wake up the synergists in your arm/wrists and hands with this simple, yet effective routine— see how effectively it rebalances your forearm muscles.
-
-
-
Planta Fascia ASMR
Release the intrinsic muscles of your foot from the plantar fascia with this simple, 1-minute exercise to improve muscle activation balance and stability.
Release the intrinsic muscles of your foot from the plantar fascia with this simple, 1-minute exercise to improve muscle activation balance and stability.
-
Toe Spread and Crunch Exercise
Try Toe Curls: a simple toe exercise to strengthen foot muscles and improve balance. Try to gently push your toe mobility a little more each day.
Try Toe Curls: a simple toe exercise to strengthen foot muscles and improve balance. Try to gently push your toe mobility a little more each day.
-
Foot Intrinsic Muscle Activation
Strengthen your feet and legs with these simple exercises for improved balance and stability. If your foot cramps, breath through it, relax the intensity of the contraction and continue —over time the muscles will be adapt and get strong enough not to cramp.
Strengthen your feet and legs with these simple exercises for improved balance and stability. If your foot cramps, breath through it, relax the intensity of the contraction and continue —over time the muscles will be adapt and get strong enough not to cramp.
-
Ankle Isometrics
Perform isometric ankle contractions to decrease swelling and pain. A slow and steady increase in the intensity of the contraction over time works wonders.
Perform isometric ankle contractions to decrease swelling and pain. A slow and steady increase in the intensity of the contraction over time works wonders.
-
-
-
Patellar Mobility Routine
Get the Knee cap moving properly so that the quadriceps can activate more effectively with this simple exercises. Always follow this one up with VMO activation and quad ramping.
Get the Knee cap moving properly so that the quadriceps can activate more effectively with this simple exercises. Always follow this one up with VMO activation and quad ramping.
-
VMO Activation and Ramping
Learning to activate the inner portion of the quadricep muscle—the VMO—is vital to proper quadriceps function. If you struggle at first, don’t despair: tap the muscle and pretend you are going to slowly kick something. With time, it will activate.
Learning to activate the inner portion of the quadricep muscle—the VMO—is vital to proper quadriceps function. If you struggle at first, don’t despair: tap the muscle and pretend you are going to slowly kick something. With time, it will activate.
-
Foot Intrinsic Muscle Activation
Strengthen Your Foot Muscles with Simple Exercises, Relieving Cramps and Boosting Flexibility Naturally.
Strengthen Your Foot Muscles with Simple Exercises, Relieving Cramps and Boosting Flexibility Naturally.
-
Standing Glute Contractions
Activate your glutes with this simple exercise. The glute functions differently depending upon hip position: When your hip is behind the body, contraction produces internal rotation; when the hip is in front, the glute acts as an external rotator. Play with your foot position during this exercise to feel the difference.
Activate your glutes with this simple exercise. The glute functions differently depending upon hip position: When your hip is behind the body, contraction produces internal rotation; when the hip is in front, the glute acts as an external rotator. Play with your foot position during this exercise to feel the difference.
-
-
-
Anterior Hips ASMR
Release the iliacus and psoas muscles at the front of the hip. Improved glide supports more effective activation.
Release the iliacus and psoas muscles at the front of the hip. Improved glide supports more effective activation.
-
Diaphragmatic Breathing
Relax your body and breathe deeply into your abdomen, feeling your belly rise with each inhalation. As you exhale, gently articulate your spine to engage the psoas and pelvic floor. If engaging the diaphragm feels difficult, gently pinch your nose about 50% to increase resistance.
Relax your body and breathe deeply into your abdomen, feeling your belly rise with each inhalation. As you exhale, gently articulate your spine to engage the psoas and pelvic floor. If engaging the diaphragm feels difficult, gently pinch your nose about 50% to increase resistance.
-
Abdominal Bracing
Brace your abs by gently drawing your belly button in, engaging your sides and deep core, and keep breathing steadily.
Brace your abs by gently drawing your belly button in, engaging your sides and deep core, and keep breathing steadily.
-
90-90 Hip Flexion Extensor Activation
Try this simple exercise to activate your glutes and hip flexors with your hips in flexion and extension.
Try this simple exercise to activate your glutes and hip flexors with your hips in flexion and extension.
-
-
-
Wrist Circles
Relax and stretch with gentle wrist movements to release tension and improve circulation naturally.
Relax and stretch with gentle wrist movements to release tension and improve circulation naturally.
-
Shoulder Pendulum
Let gravity gently distract your shoulder as your arm hangs. Use slow, circular movements with relaxed breathing to ease pain and soothe inflammation.
Let gravity gently distract your shoulder as your arm hangs. Use slow, circular movements with relaxed breathing to ease pain and soothe inflammation.
-
Supported Shoulder Reach and Lift
Use this assisted, active stretching method to safely increase shoulder mobility. Slow, steady movements—just a millimeter at a time—lead to better overhead reach.
Use this assisted, active stretching method to safely increase shoulder mobility. Slow, steady movements—just a millimeter at a time—lead to better overhead reach.
-
Rotator Cuff Isometrics
Relieve rotator cuff pain with a simple exercise sequence targeting shoulder muscles.
Relieve rotator cuff pain with a simple exercise sequence targeting shoulder muscles.
-
-
-
Release the muscles on the sides of your neck with this gentle technique.
-
Relax tense neck muscles with gentle pressure and movement in just 1 minute.
-
Pectoralis Major Stretch
Stretch your shoulders, engage your core, and breathe deeply in this doorway stretch. Repositioning your shoulder blades can ease neck tension.
Stretch your shoulders, engage your core, and breathe deeply in this doorway stretch. Repositioning your shoulder blades can ease neck tension.
-
Six Way Neck Isometric Hold
Relieve tension with this simple yet effective 6-step neck activation technique to improve support of your cervical spine.
Relieve tension with this simple yet effective 6-step neck activation technique to improve support of your cervical spine.
-
Frequently Asked Questions
-
Always begin by calming your nervous system. Spend 1–2 minutes on Diaphragmatic Breathing:
Inhale: 4 seconds
Hold: 4 seconds
Exhale: 6 seconds This shifts your body from "fight-or-flight" into a healing state.
How do I know if the exercises are working?
Follow the 10–20 Minute Rule: If your pain settles, improves, or returns to its baseline within 20 minutes of finishing, the routine was appropriate. If pain continues to escalate, stop and reassess.
-
It is normal to feel:
Gentle muscle tightening or effort.
Mild discomfort that does not increase during the movement.
Warmth, light fatigue, or a settling sensation.
-
Discontinue the routine if you experience:
Sharp, stabbing, or "electric" sensations.
Numbness, tingling, or joint "giving way."
Pain that gets rapidly worse during or after the exercise.
-
Stay with the Acute Pain Reset if your pain is consistently above 7/10 or if movement feels "threatening."
You are ready to progress when:
Average pain is consistently below 7/10.
Pain settles quickly after activity.
You can complete the resets without symptom flare-ups.
-
Do not use these routines and seek immediate medical evaluation if you have:
Pain following major trauma (falls/collisions).
Sudden loss of strength or bladder/bowel control.
Fever, chills, or unexplained weight loss.
Severe night pain or suspected fractures.
-
If you need help clarifying a diagnosis, you can book a consultation with Dr. Boynton. For hands-on instruction regarding the routines themselves, you can work with Marla, the team's personal trainer.
Still have questions? Take a look at the FAQ or reach out anytime.